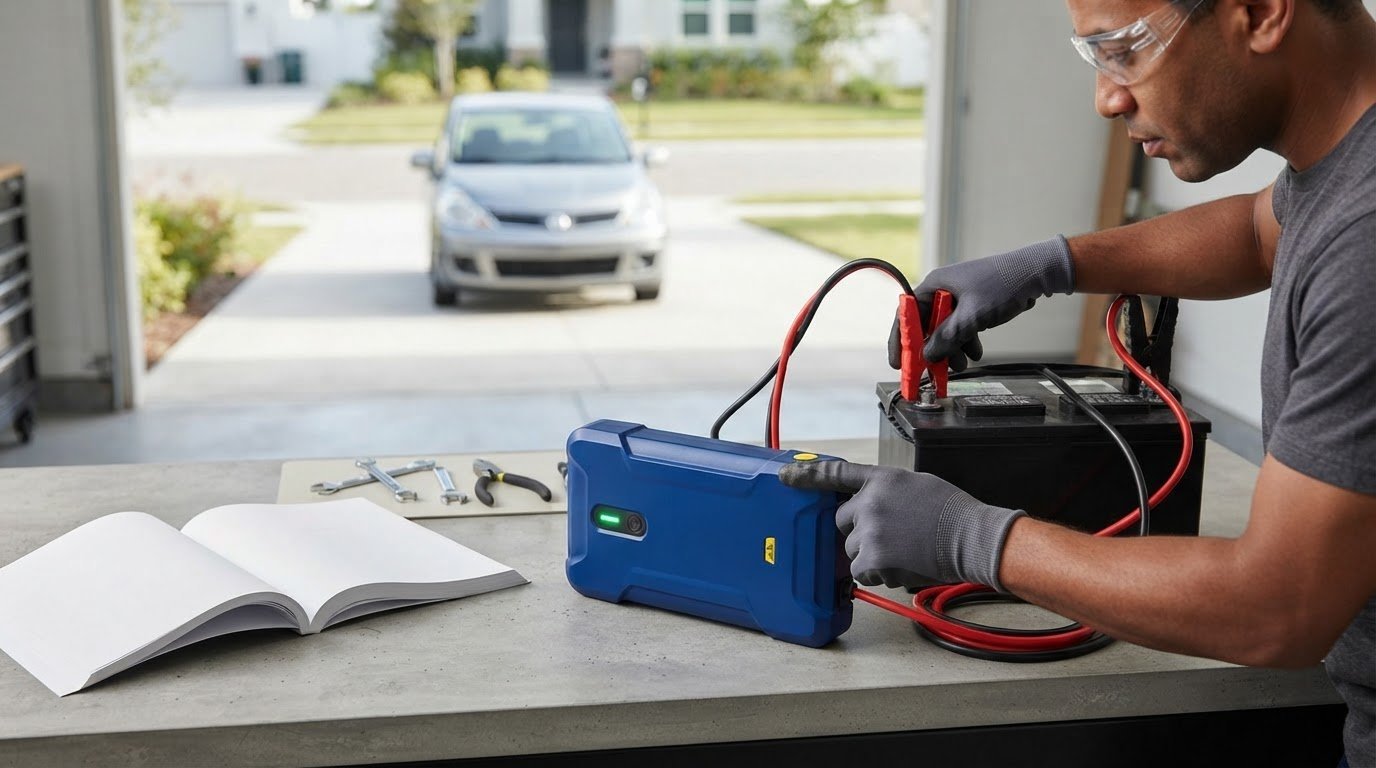
What if the jump starter isn’t the reason your vehicle won’t start? When troubleshooting a portable jump starter, a low charge, loose clamp connection, or vehicle battery problem can produce similar symptoms. An error light or failed start doesn’t tell you which one is at fault.
It’s frustrating when the unit shows no lights, the clamps won’t connect reliably, or the engine still won’t turn over. Before trying again, pause and follow the jump starter’s manual and your vehicle manufacturer’s instructions. A careful check is safer than guessing or repeatedly attempting to start the vehicle.
This guide walks you through practical checks to help distinguish a problem with the jump starter from a connection issue or a vehicle fault. You’ll learn what to inspect, when to stop, and when to seek qualified vehicle help. We’ll also cover simple ways to keep roadside equipment, including a truck and car battery jump starter, ready for the next time you need it.
Key Takeaways
- A failed start doesn’t automatically mean the jump starter is broken. Narrow down whether the issue involves the unit, clamp contact, or vehicle.
- When troubleshooting a portable jump starter, start with the equipment and vehicle manuals, then check for visible damage before use.
- Use symptoms such as no power or a connection warning to choose a safe next check, and know when to stop.
- Cold conditions can affect battery performance. Follow the manuals rather than assuming one temperature rule applies to every unit or vehicle.
- Recharge the unit as directed and periodically inspect it, the cables, and the clamps so your roadside equipment is ready when needed.
Troubleshooting a Portable Jump Starter: Identify the Symptom First
A failed start doesn’t automatically mean the jump starter is broken. Start by separating three possible sources: the power unit, the clamp connection, and the vehicle’s starting system. A blank display directs your attention to the unit; a connection warning points to the clamps or setup; and a vehicle that still won’t crank may have a separate battery, starter, or other fault.
Before trying again, note exactly what happens. Does the unit power on before you connect it? Do its indicators change when the clamps are attached? Does the engine click, crank slowly, or do nothing? These clues help narrow down the cause without guessing. For background on jump-starting methods and safety, see Jump Start (Vehicle) on Wikipedia, then follow the instructions for your specific equipment and vehicle.
| Symptom | First check |
|---|---|
| Blank display or no lights | Check the unit’s charge state and charging instructions in its manual. |
| Warning light or clamp alert | Consult the manual’s indicator guide and inspect clamp placement and contact. |
| Clicking after connection | Check that the clamps are secure and correctly placed as directed by the vehicle manual. |
| No crank | Confirm the unit indicates an acceptable charge and that the clamps are connected correctly. Stop if the vehicle still won’t crank. |
What do the lights, beeps, and clamp warnings mean?
Indicator meanings vary by model. Check each light, beep, or clamp warning in the unit manual rather than relying on a code chart for a different jump starter. A low-charge alert concerns available power; a connection or protection alert may indicate a clamp issue or another condition detected by the unit. Don’t guess at the cause or bypass a warning. Stop using the unit if it’s hot, swollen, cracked, or giving off an unusual odor.
Is the problem the jump starter or the vehicle?
Before connecting the clamps, check whether the unit powers on and shows a normal charge state according to its manual. Then check the connection. Loose, dirty, or incorrectly placed clamps can interfere with contact, even if the power unit is ready. Follow the vehicle manufacturer’s instructions for connection points and clamp placement. If the unit appears ready and the connection is sound but the vehicle still won’t start, the cause may be the vehicle battery, starter, or another fault that needs qualified diagnosis.
Remember: Indicator meanings vary by model. Verify every light, beep, and warning in the jump starter’s manual before taking action.
Why a Portable Jump Starter Fails: Power, Clamps, and Vehicle Causes
A jump-start attempt depends on more than the portable unit. The unit needs enough charge, the clamps need solid contact at the correct connection points, and the vehicle’s starting system must be able to respond. A problem in any one of these areas can look like a failed jump. Check them separately before deciding what to do next.
A power-unit problem means the jump starter may not be delivering usable power. A vehicle starting-system problem means the unit may be ready, but the car still can’t start. This distinction keeps troubleshooting focused. Protection features can also interrupt operation if the unit detects a condition it considers unsafe. Check the specific manual to understand the alert and the action it recommends.
How low charge, storage, and temperature affect performance
A jump starter can lose charge while it sits unused. Time in storage and self-discharge may leave it with too little power for an emergency, even if it worked the last time you checked it. If the display is blank or the charge indicator is low, follow the manual’s charging procedure before using it. Don’t assume that plugging it in briefly will restore enough charge.
Temperature matters, too. Cold conditions can affect battery performance, but the effect varies by unit and situation. Check the manual for the correct storage, recharge, and operating-temperature guidance. Don’t guess at a fixed number of months between charges or starts: maintenance intervals and battery behavior aren’t universal.
How clamp contact and vehicle faults cause failed starts
Clamps that are loose, dirty, or attached at the wrong points may not establish reliable electrical contact. That can prevent current from flowing as intended or trigger a connection warning. Follow the vehicle and jump starter manuals for clamp placement. Don’t scrape, adjust, or reposition connections in a way the instructions don’t allow, and don’t keep trying if a warning remains.
Clicking or no crank can point to a problem, but neither symptom proves a single cause. A poor clamp connection may be involved, but the vehicle battery could also be deeply discharged or damaged. Even with a correctly connected, charged unit, the vehicle may not start if the battery can’t accept or deliver power, or if the starter or another part of the starting system has a fault. Stop repeated attempts if the vehicle doesn’t respond and arrange qualified diagnosis.
- Low unit charge: Restore charge according to the jump starter manual.
- Poor clamp contact: Recheck the connection instructions and inspect for visible dirt or damage.
- Vehicle fault: Stop if correct use doesn’t produce a start or the unit continues to show a warning.
For roadside preparedness, Fourman Industries sells a truck and car battery jump starter. Follow the unit’s instructions and keep it charged and stored as its manual directs.
Compare the Clues: Is the Jump Starter, Connection, or Car at Fault?
Use the symptom as a starting clue, not a final diagnosis. When troubleshooting a portable jump starter, note whether the unit powers on, what its indicators show after connection, and how the vehicle responds when you follow the manuals. That sequence helps distinguish a unit that isn’t ready from a connection alert or a vehicle that needs attention beyond a jump start.
| Symptom | Likely area | Safe check | When to stop |
|---|---|---|---|
| Unit won’t power on | Jump starter or its charge | Inspect the exterior, then check the charge indication and charging method in its manual. | Stop if it remains unresponsive, is damaged, or shows signs of overheating. |
| Unit powers on but signals a connection issue | Clamp contact or a protection alert | Use the manual to interpret the alert and confirm clamp placement against both manuals. | Stop if the warning persists or the clamps or cables appear damaged. |
| Vehicle clicks or does not crank | Connection, vehicle battery, starter, or another vehicle fault | Check the displayed status and approved connection points. Don’t infer a cause from clicking alone. | Stop if a safe, correctly connected attempt doesn’t resolve the issue. |
| Engine cranks but won’t start | Potential vehicle issue beyond the jump starter | Follow the vehicle manual and note whether the engine turns over without starting. | Stop repeated attempts and seek qualified vehicle diagnosis. |
What does it mean when the jump starter will not turn on?
Begin with a visual inspection. If the casing, port, or leads look damaged, don’t charge or use the unit. If it appears intact, check its charge indication as described in the manual and use only the supplied or manufacturer-approved charging method. If it stays unresponsive after those checks, stop there. Don’t open the housing or attempt an internal repair.
What if the unit works but the car still will not start?
Compare the unit’s displayed status with its manual, then verify clamp placement using the unit and vehicle instructions. A connection warning means stop and check the approved setup, not force the clamps. If the engine cranks slowly, clicks repeatedly, or gives no response despite a correct setup, those are clues, not proof of a specific fault. Get qualified vehicle diagnosis if safe, correct attempts don’t resolve the problem.
A vehicle that cranks but won’t start is behaving differently from one that won’t crank at all. In the first case, the engine is turning over, but the problem may involve another part of the vehicle. In the second, the starting process isn’t turning the engine over. Neither symptom alone identifies the failed part. Record what you observed and share it when arranging diagnosis.
For future roadside preparedness, choose equipment that suits your vehicle. Fourman Industries’ truck and car battery jump starter guide offers selection context. Compare a unit’s compatibility information and operating instructions with your vehicle’s requirements before relying on it.
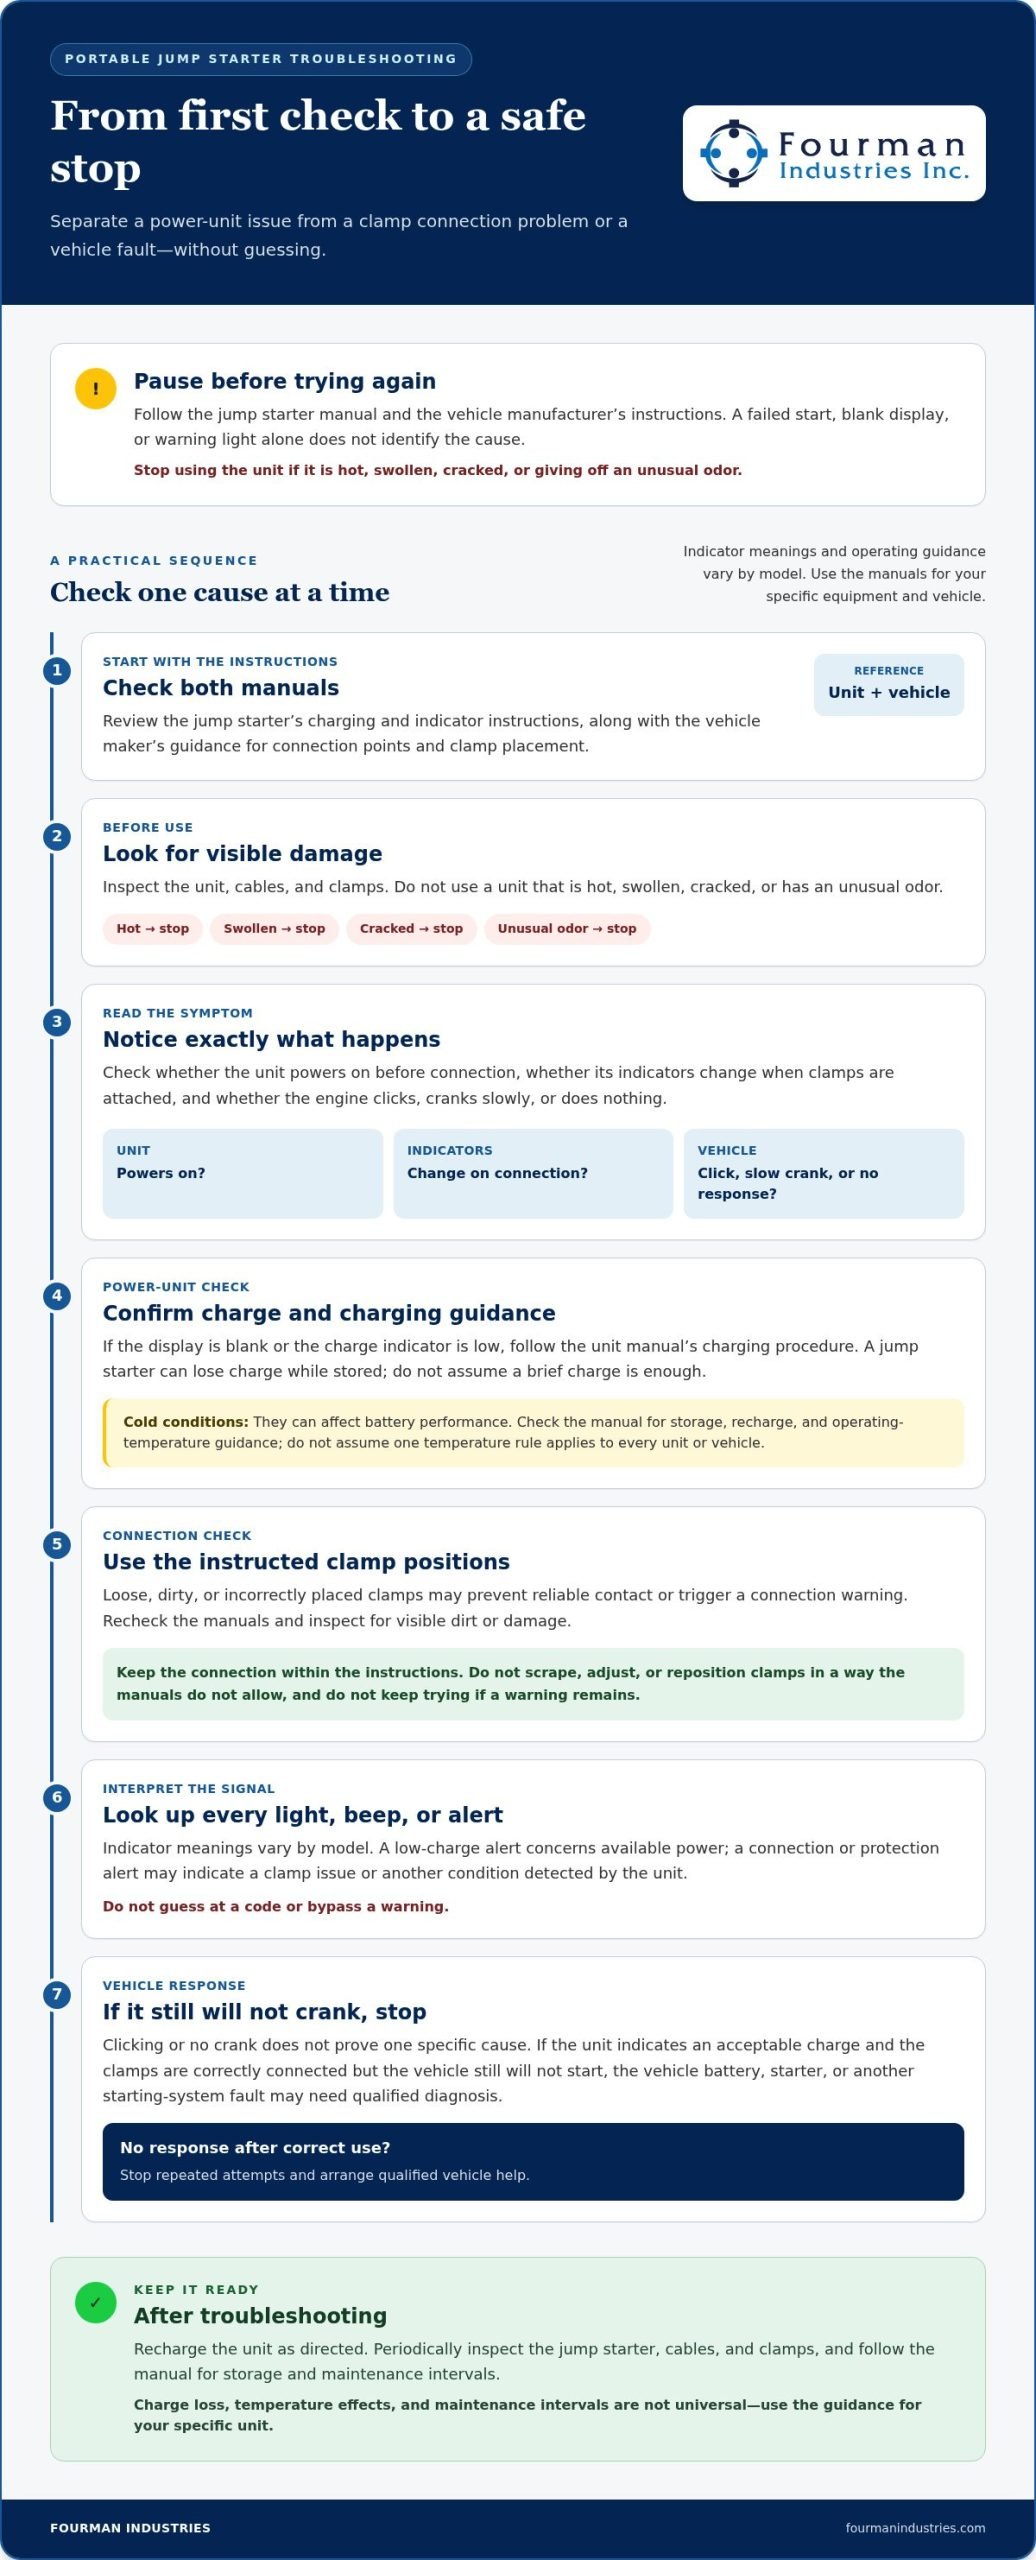
How to Troubleshoot a Portable Jump Starter Safely, Step by Step
Pause before reconnecting anything. Troubleshooting a portable jump starter safely means checking the scene, equipment, and instructions before trying another start. Follow the jump starter and vehicle manuals before every connection attempt. They provide model-specific charging, connection, and operating steps that generic advice can’t replace.
- Stop and assess the situation. Don’t make another attempt yet. Move to a safe location if possible, away from traffic, and follow applicable vehicle and equipment instructions. If the vehicle or unit is in an unsafe condition, step away and get help.
- Read both manuals. Find the jump-start procedure for your specific unit and vehicle. Check compatibility guidance, connection points, the order for attaching and removing clamps, and what to do if an alert appears. Don’t rely on instructions for a different model.
- Inspect before use. Check the jump starter’s casing, ports, cables, and clamps for cracks, fraying, deformation, contamination, or other visible damage. Don’t use damaged equipment. Never open the unit or improvise with adapters, substitute cables, or repair methods.
- Confirm the charge state. Use the manual to interpret the display or charge indicator. If the unit needs charging, use only the supplied or manufacturer-approved method and follow its charging instructions. Don’t connect it to the vehicle if its condition or charge status is unclear.
- Check the vehicle setup. Use the vehicle manual to identify the correct connection points and the jump starter manual for clamp placement and sequence. Make sure the setup matches both sets of instructions before continuing. Don’t force a clamp or move it to an unapproved point to silence a warning.
- Make one careful attempt as directed. Watch the unit’s indicators and listen to the vehicle’s response. Stop if a warning persists, the connection seems unreliable, or the vehicle behaves abnormally. Avoid repeated attempts if the first safe, correct attempt doesn’t resolve the problem.
A safe pre-start check before reconnecting
Check the casing, cables, clamps, and ports in good light. Look for damage, dirt, or anything that could interfere with the connection directed by the manufacturer. Follow the manuals’ procedures. Don’t touch exposed or damaged wiring, clean contacts using an unapproved method, or continue if you’re unsure whether the equipment is safe to use.
When to stop troubleshooting and get help
Stop immediately if the unit becomes hot, swells, smokes, is cracked, or gives off an unusual odor. Don’t use it if a warning remains after the manual’s recommended checks. If the vehicle still won’t start, avoid repeated attempts and arrange roadside assistance or qualified vehicle service for an unresolved battery or starting fault.
Fourman Industries sells a truck and car battery jump starter for roadside preparedness. Follow its instructions whenever you use it.
After Troubleshooting: Keep Your Jump Starter Ready for the Next Emergency
Once you’ve finished troubleshooting a portable jump starter, prepare it for the next use. Recharge it as its manual directs, then store it under the conditions the manufacturer specifies. A unit that worked once isn’t automatically ready months later, so build a quick check into your regular vehicle-preparation routine.
How to store and check a portable jump starter
Use the manufacturer’s schedule for charging and inspection. Follow its storage guidance, including instructions about temperature, moisture, and where to keep the unit. Keep the cables and clamps organized, dry, and protected from damage rather than letting them get pinched under cargo or tangled with other equipment.
Make readiness easy to track. Write down the last inspection or recharge date, then check the charge indicator, casing, cables, and clamps at the next scheduled review. Look for worn leads, loose parts, cracks, or other visible damage. If anything looks abnormal, consult the manual before charging or using the unit.
What to look for in a replacement or backup unit
Start with your vehicle and intended use. Compare the vehicle’s requirements with the jump starter’s published compatibility guidance, and review its instructions before choosing. Check how it charges, what its safety indicators mean, and which leads are included. These details help you judge whether the unit suits your situation and whether you can use it correctly.
Don’t choose by a peak-amp claim alone. Peak amps describe a short burst, and that headline figure doesn’t by itself tell you the starting power available in use. Compare relevant starting and compatibility information from the manufacturer, and don’t treat claims from different units as directly equivalent unless they’re presented on a comparable basis.
A jump starter is one part of roadside preparation, not a guarantee that every no-start can be fixed at the roadside. A damaged battery or another vehicle fault may still need qualified diagnosis. Pair your equipment with a broader plan for unexpected stops, and use this emergency car kit checklist to consider what else to keep in your vehicle.
- Follow the unit’s own charging and storage instructions.
- Check its charge indication, cables, clamps, and visible condition on a regular schedule.
- Keep its manual with your roadside equipment so its model-specific guidance is close at hand.
Fourman Industries sells truck and car battery jump starters as a practical addition to your roadside kit.
Build a Roadside Kit That Fits Your Next Trip
Make roadside readiness part of your routine before the next trip, not a task left for the moment something goes wrong. Think about the routes you drive, the conditions you may face, and what would help you handle a delay while waiting for assistance. A quick equipment check and a plan for getting help can make an unexpected stop feel more manageable.
Troubleshooting a portable jump starter is one useful skill, but preparedness also means having equipment suited to your vehicle and keeping its instructions accessible. Fourman Industries sells truck and car battery jump starters and portable 12V tire inflator kits for a practical roadside setup. Choose equipment that fits your needs, and follow the manufacturer’s guidance.
Explore Fourman Industries truck and car battery jump starters as you plan your kit. Take the next step at your own pace, and set out with a little more confidence.
Frequently Asked Questions
Can I use a portable jump starter if the battery is completely dead?
Possibly, but a jump starter can’t guarantee a start if the vehicle battery is deeply discharged or damaged. “Completely dead” can mean the battery has too little charge to crank, or that it can no longer accept or deliver power. Follow the vehicle and jump starter manuals, including any minimum battery-condition requirements. If the unit signals an error, the battery looks damaged, or a correct attempt fails, stop and arrange qualified vehicle help.
How often should I recharge a portable jump starter?
Follow the charging schedule in your specific jump starter’s manual. The right interval can depend on the unit and its storage conditions, so don’t rely on a one-size-fits-all timetable. If it has been stored for a while, check its charge indicator before a trip and recharge it using the approved method if needed. Add a reminder to your vehicle-maintenance calendar so the check doesn’t get missed.
Is it safe to leave a jump starter connected to the car battery?
Don’t leave it connected longer than the jump-start instructions require, and never leave the setup unattended. Once the starting procedure is complete, remove the clamps in the order specified by the jump starter and vehicle manuals. Leaving equipment attached can create avoidable risks, especially if the vehicle is started, moved, or left running. If you’re unsure about the disconnect sequence, pause and check the instructions before touching the clamps.
Can I use a portable jump starter on a hybrid vehicle?
Only if the hybrid’s owner manual permits it and the jump starter is compatible with the specified starting points. A jump starter may be intended for the vehicle’s 12-volt auxiliary system, not its high-voltage traction battery. Hybrid connection points and procedures can differ from those of conventional vehicles. Don’t attach clamps to high-voltage components or assume a familiar-looking terminal is the correct one. Follow the hybrid manual exactly.
Why does my jump starter work once but fail the next time?
A unit that worked once may have less charge remaining, especially if it wasn’t recharged after use or has been stored for an extended period. Cold conditions may also affect performance. Before another attempt, check the charge indicator and inspect the leads for damage. If the unit shows an adequate charge but repeatedly fails, confirm that it’s suitable for the vehicle and review its manual. Troubleshooting a portable jump starter starts with the exact conditions of each attempt.
Can a jump starter damage a car’s electronics?
Incorrect connections or use outside the vehicle and jump starter instructions can create a risk of electrical damage. Use only a compatible unit, follow the specified connection and removal sequence, and pay close attention to polarity. Built-in safeguards, if present, aren’t a reason to ignore the instructions or continue through a warning. If you see an alert or aren’t certain about the connection points, stop and consult the vehicle manual before proceeding.
What should I do if the jump starter gets hot while charging or in use?
Stop charging or using it if it becomes unusually hot. Follow the manufacturer’s instructions for stopping and disconnecting it, but don’t handle a unit that is swelling, smoking, cracked, or giving off an unusual odor. Move away and seek appropriate emergency help if there’s smoke or a fire risk. Don’t resume use just because the unit cools down; follow the manufacturer’s guidance before charging or using it again.
Explore Fourman Industries truck and car battery jump starters and choose roadside equipment that suits your vehicle.